How to localize Xcode Projects

(iOS, macOS, watchOS, tvOS, visionOS)

You can localize your Xcode projects into other languages easily using the Auto Localize app, thereby rapidly increasing the audience for your iOS, macOS, watchOS, tvOS and visionOS applications.

1 - Prepare Your Xcode Project for Localization

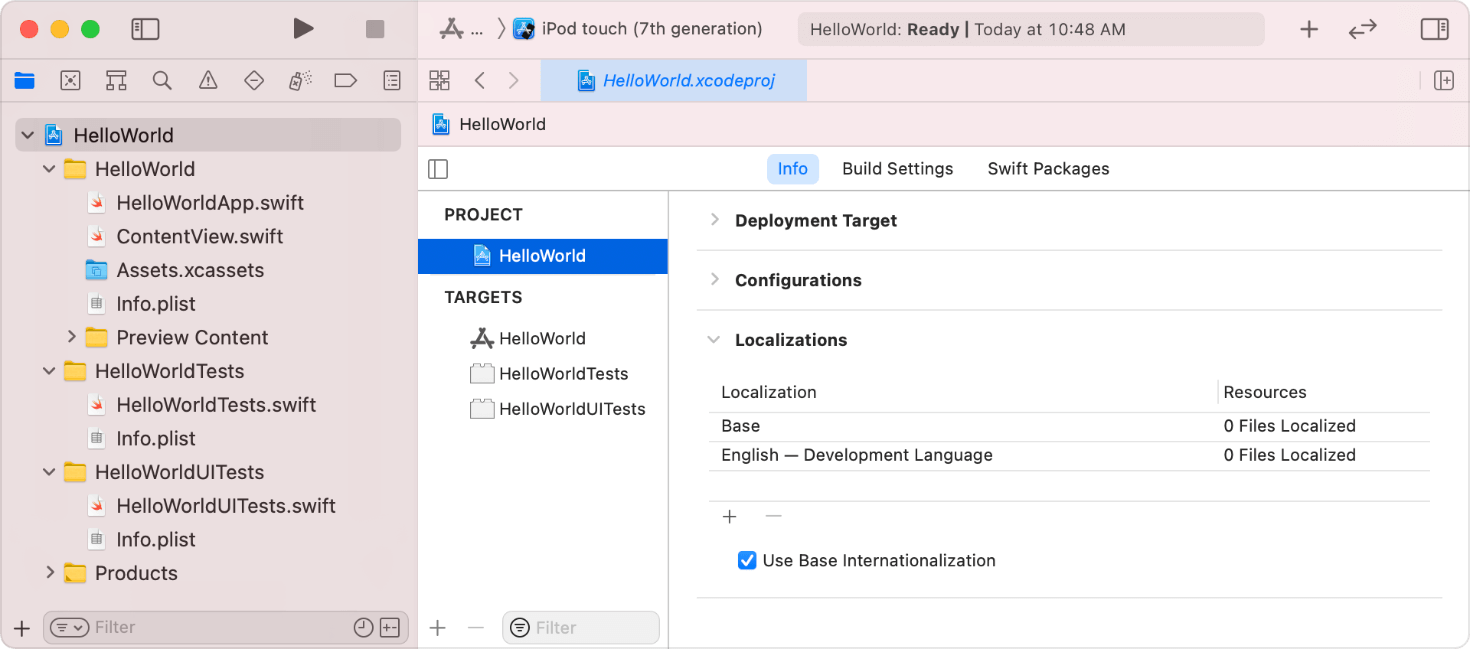
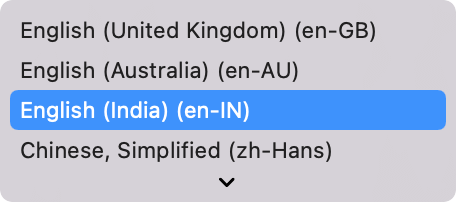
In the project editor, select the project name under Project, and click Info. Under Localizations, click the Add button (+), then choose a language and region combination from the pop-up menu.
...

...

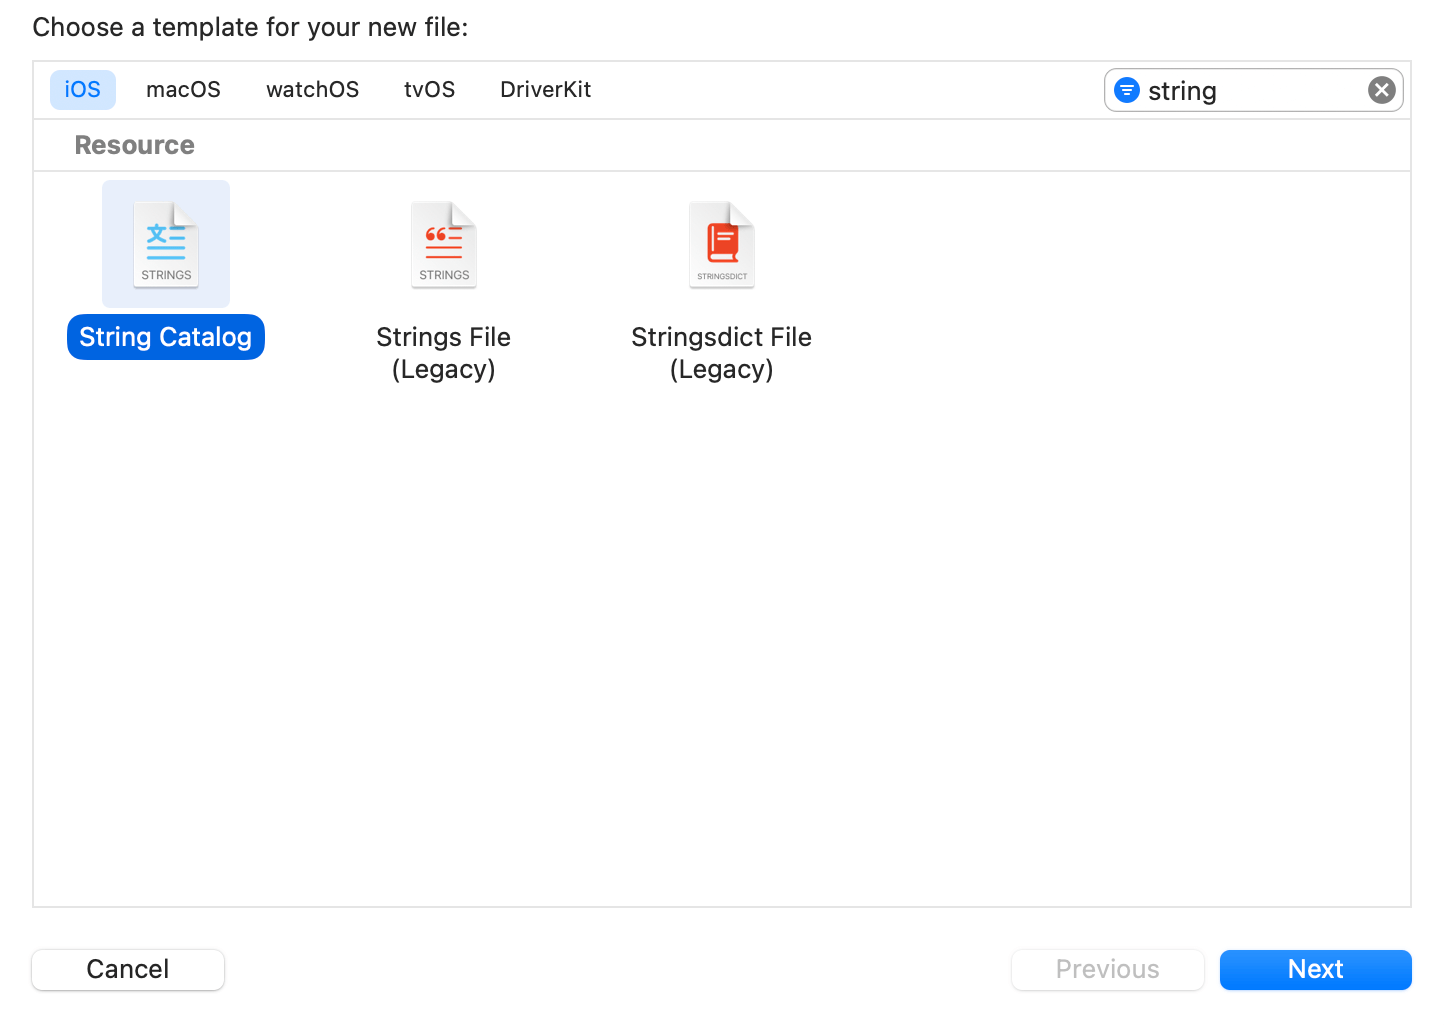
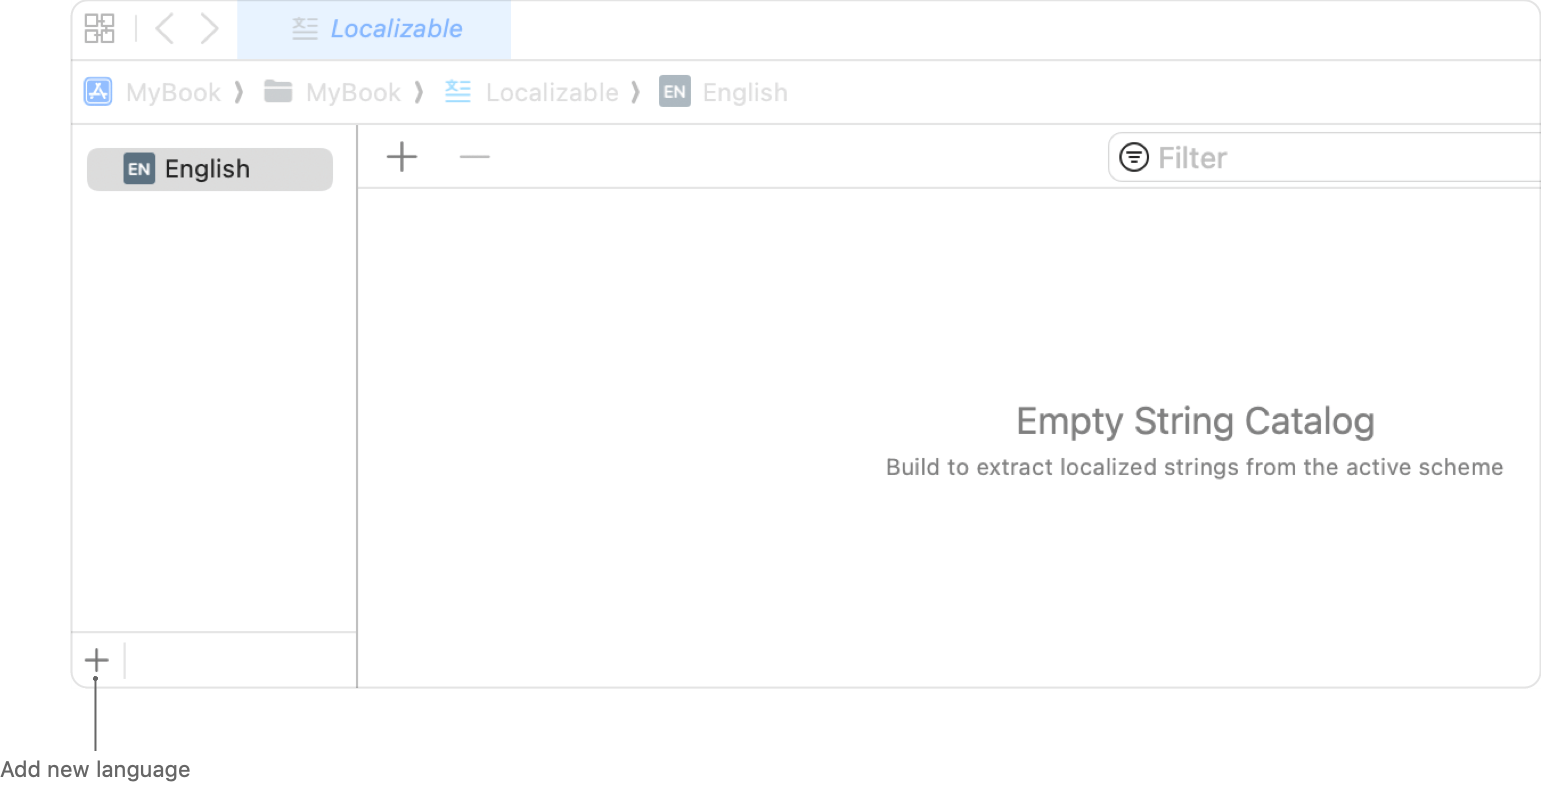
You can also use string catalogs to localize your projects. To add a string catalog to your project, choose File > New > File. In the sheet that appears, select the platform, enter string into the filter field, select String Catalog, and click Next. In the dialog that appears, accept the default name Localizable, choose a location, and click Create.
...

...

2 - Export Localizations

Regardless of the method you use for localization, you can export all localizable items in your project in XCLOC (Xcode Localization Catalog) format using the exporting localizations process.

In the Project navigator, select the project, then choose Product > Export Localizations. In the dialog that appears, enter a folder name, choose a location, choose the localizations, and click Export.

...

...

3 - Create Auto Localize project.

The magic begins from this point onwards. You can now easily localize the XCLOC files you've exported using Auto Localize.

Open the Auto Localize app and create a new project. Give your project a suitable name. Set the default language value to the language your project is developed.

...

4 - Add XCLOC Files to the project

Add the folder containing the exported XCLOC files to the project using the "Add Folder" menu.

... ... ...

5 - Set Texts Not to Be Localized

During localization, there may be text such as application names or brand names that you do not want to be translated. Enter such text in the 'Text Not to Be Localized' tab. The text you enter here will not be translated into other languages.

...

6 - Localize all XCLOC files using the automatic localization

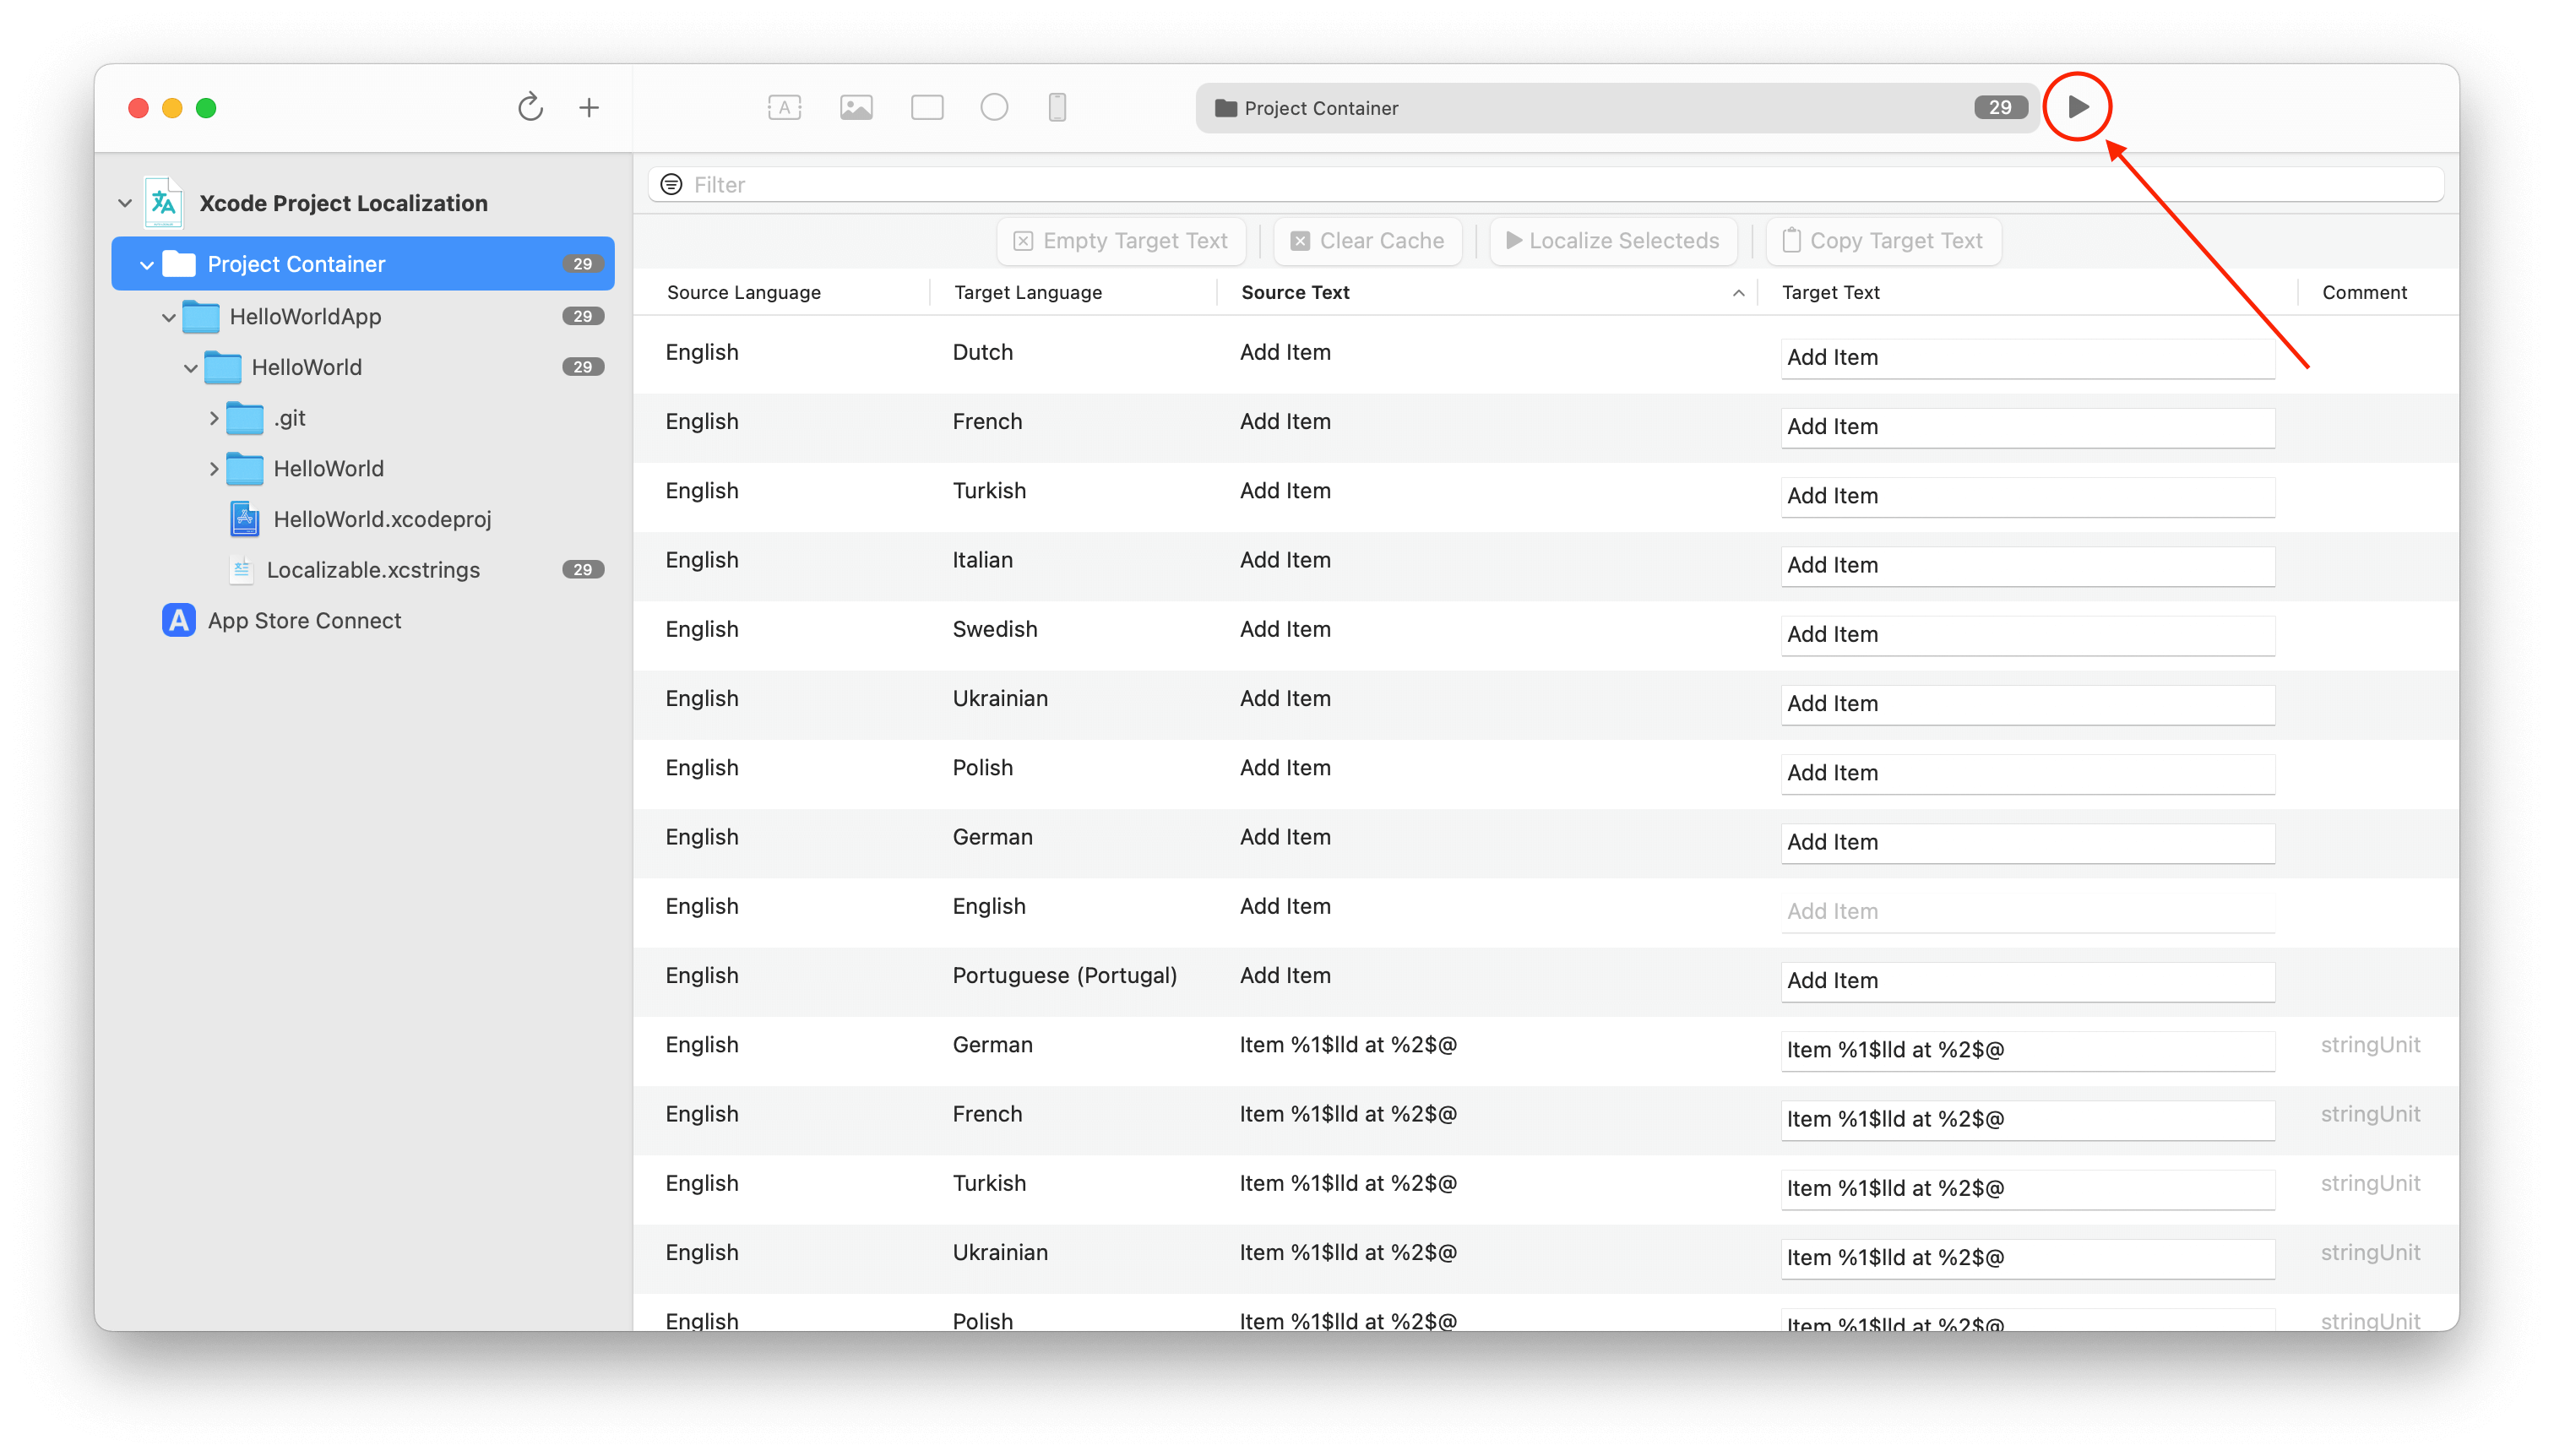
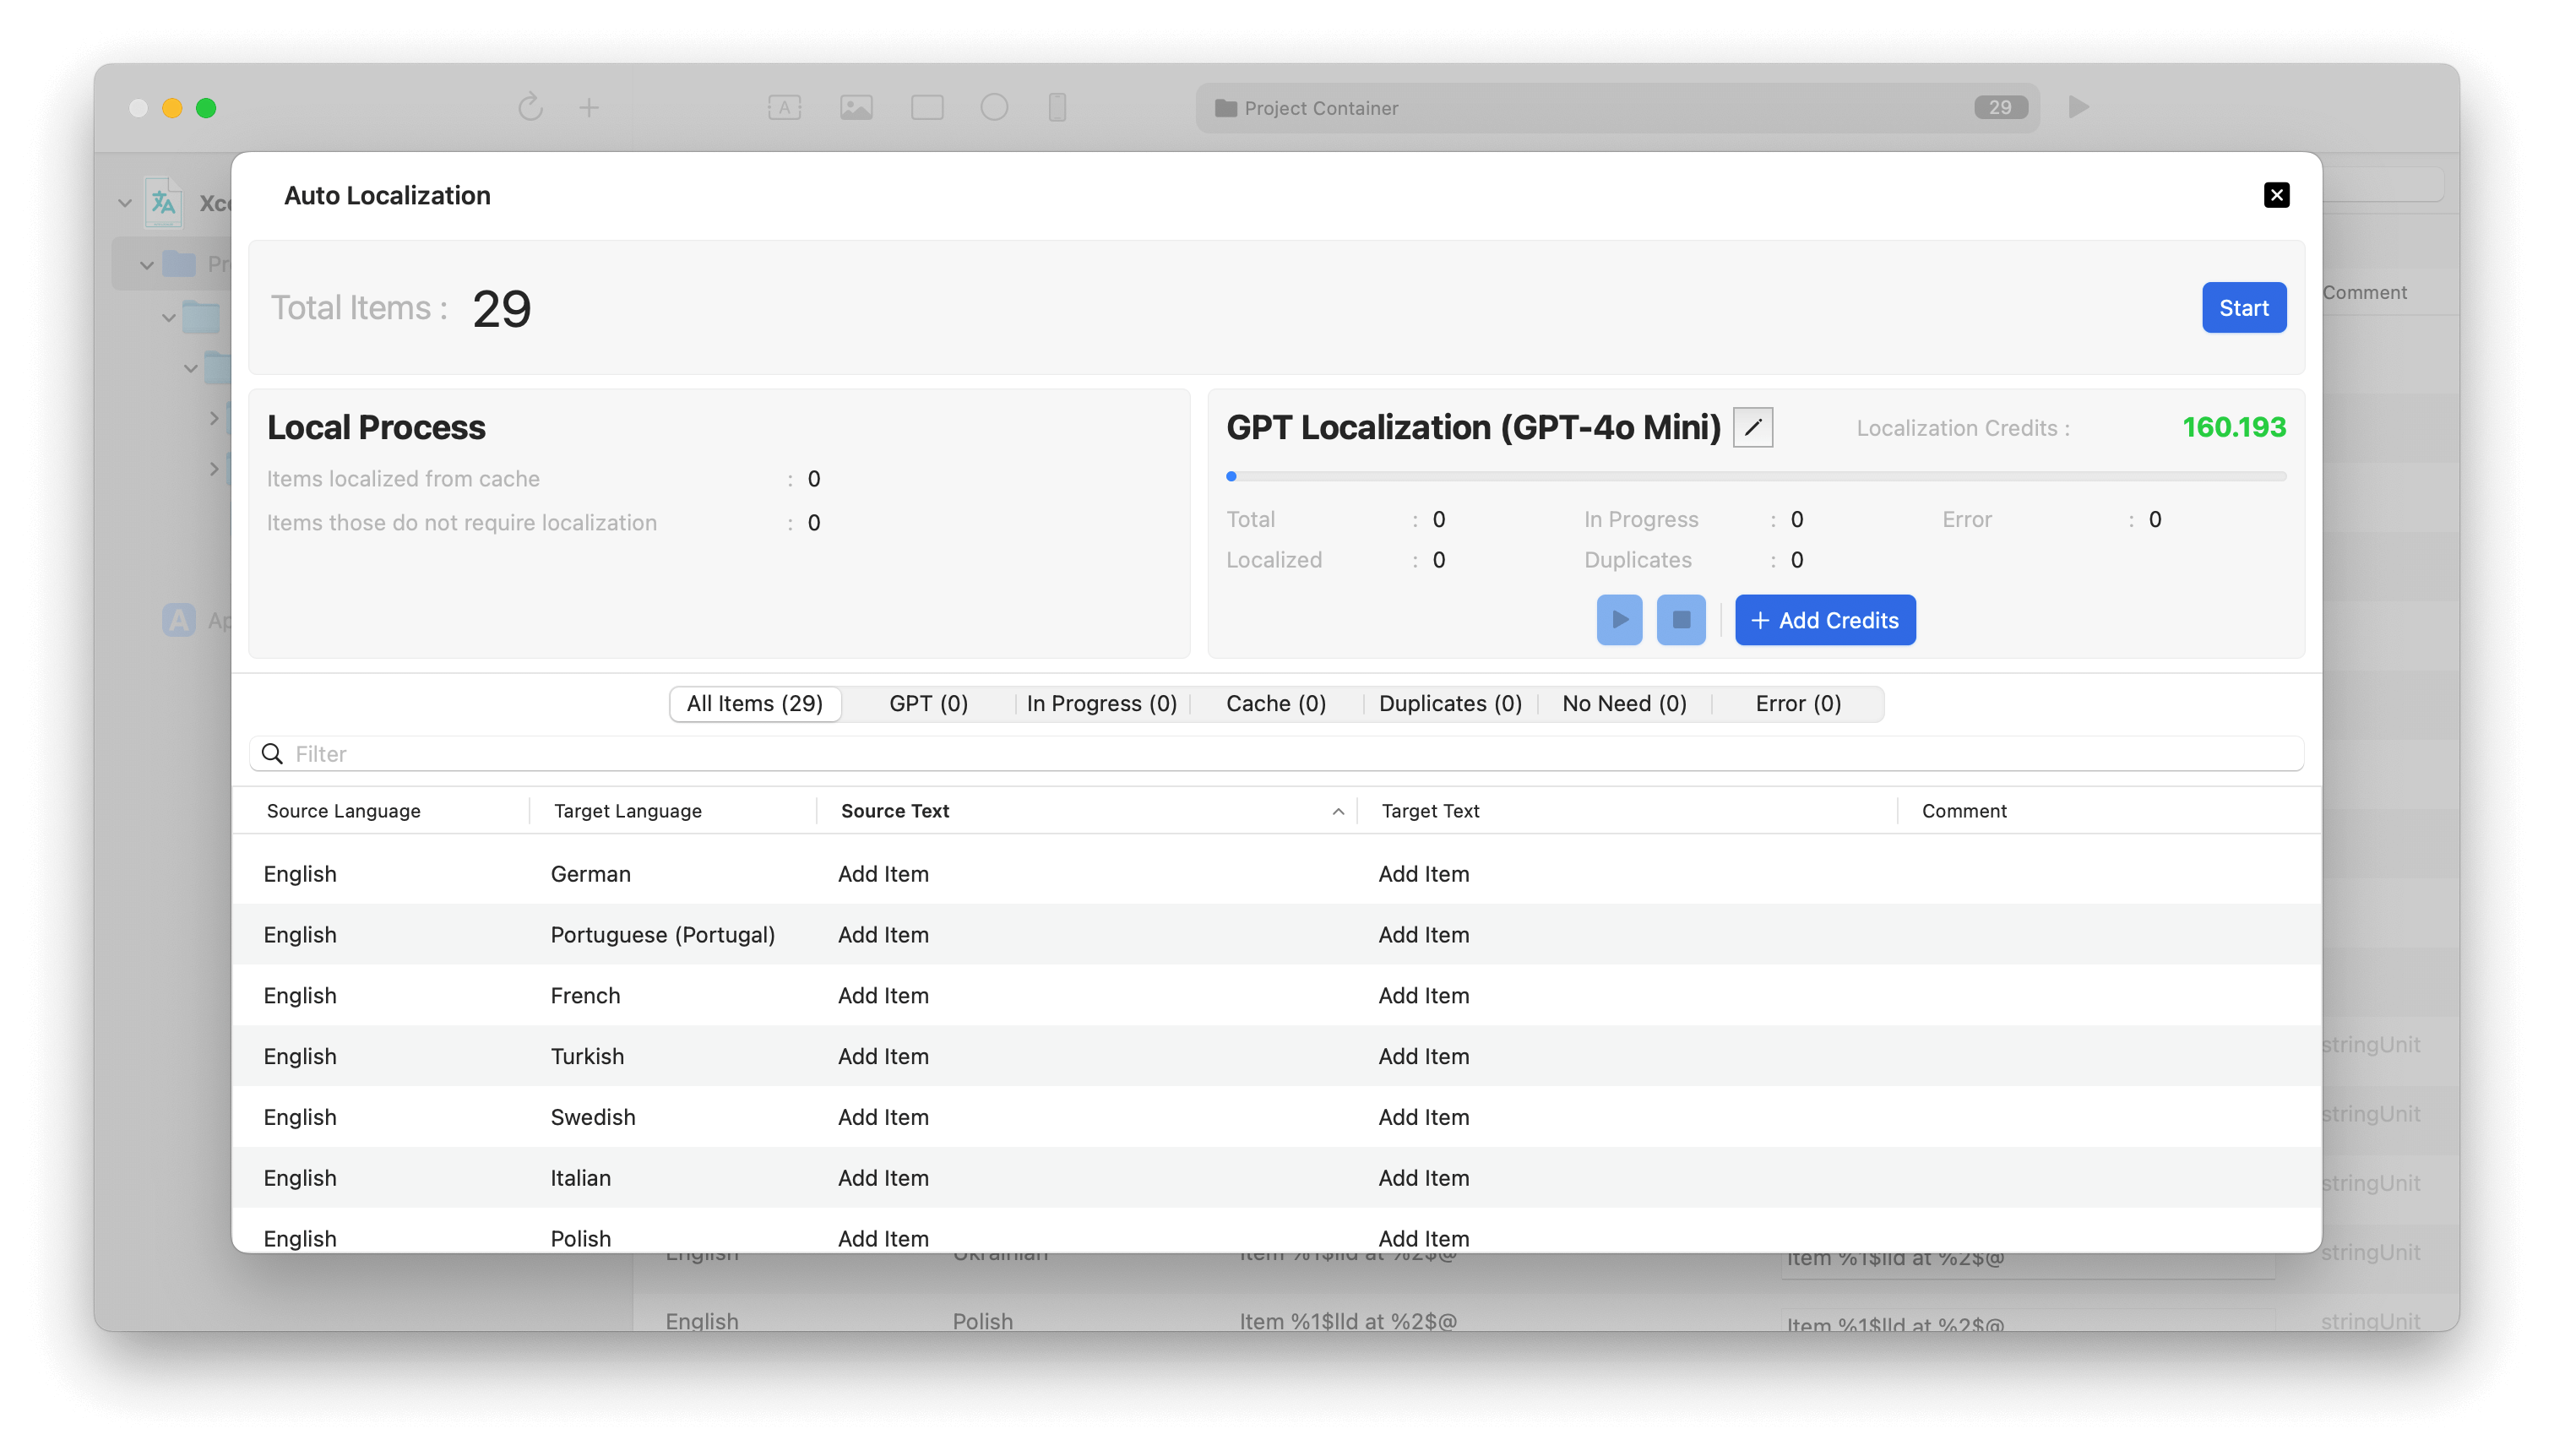
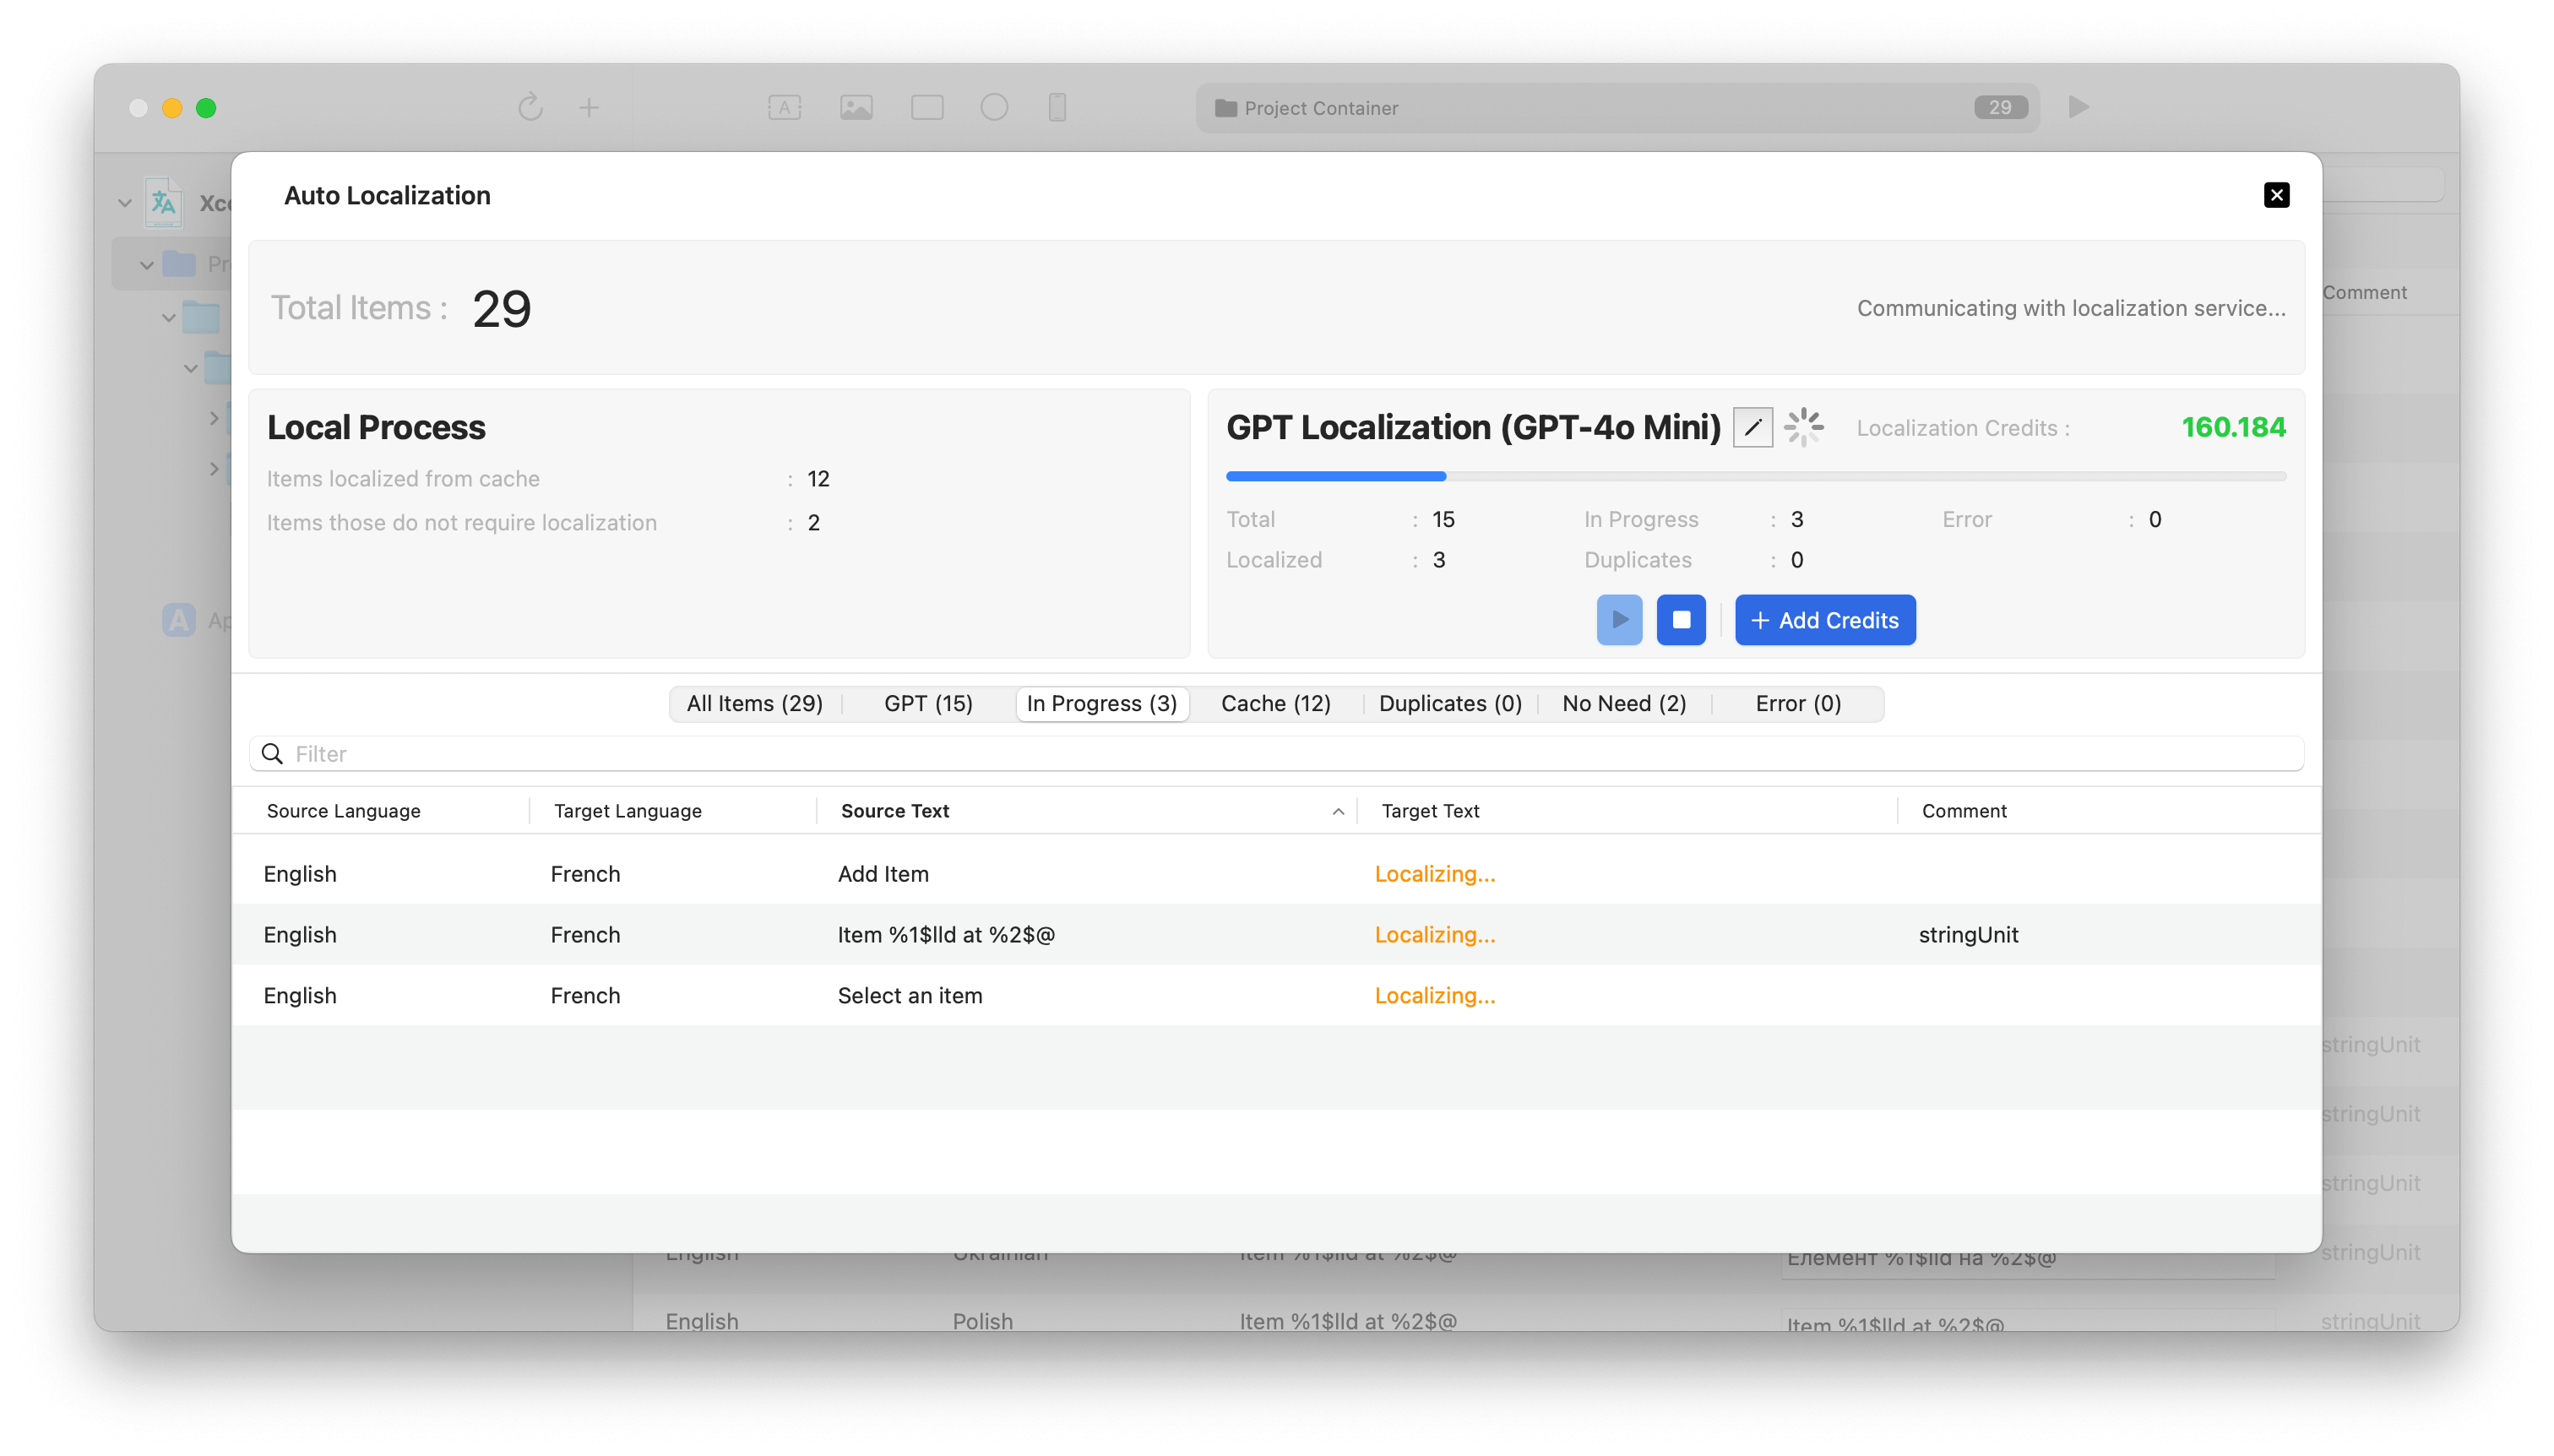
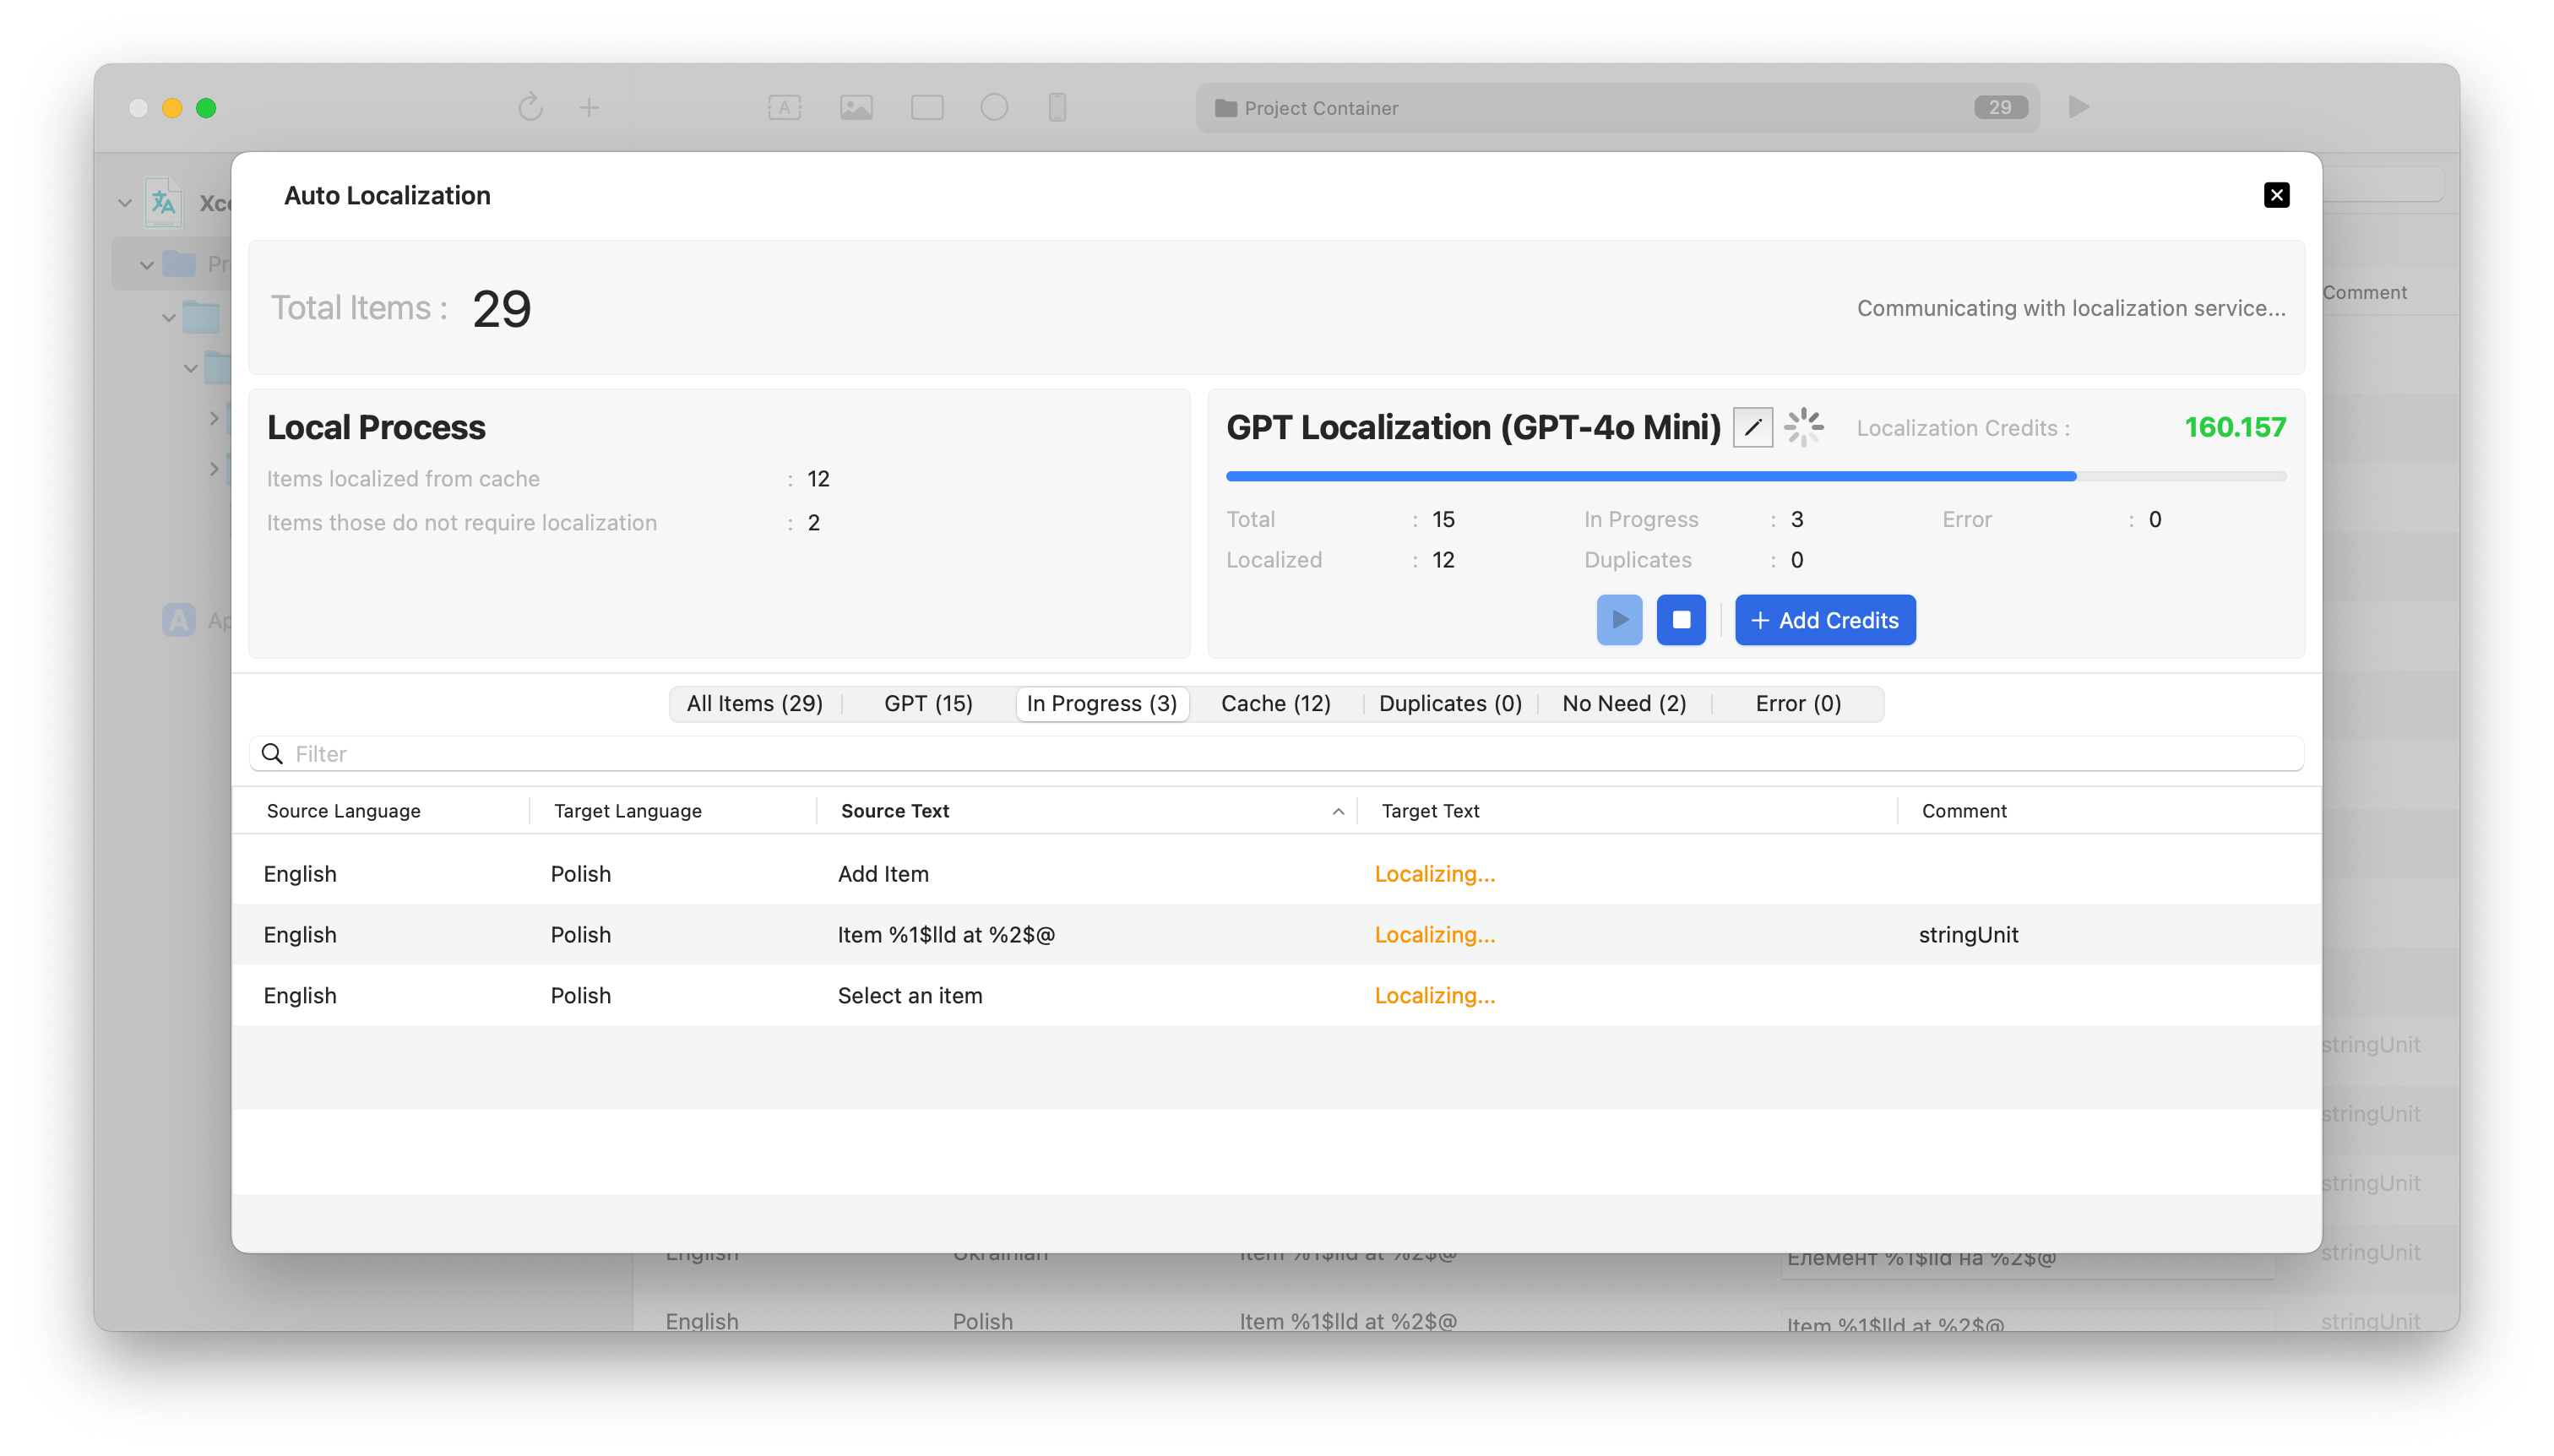
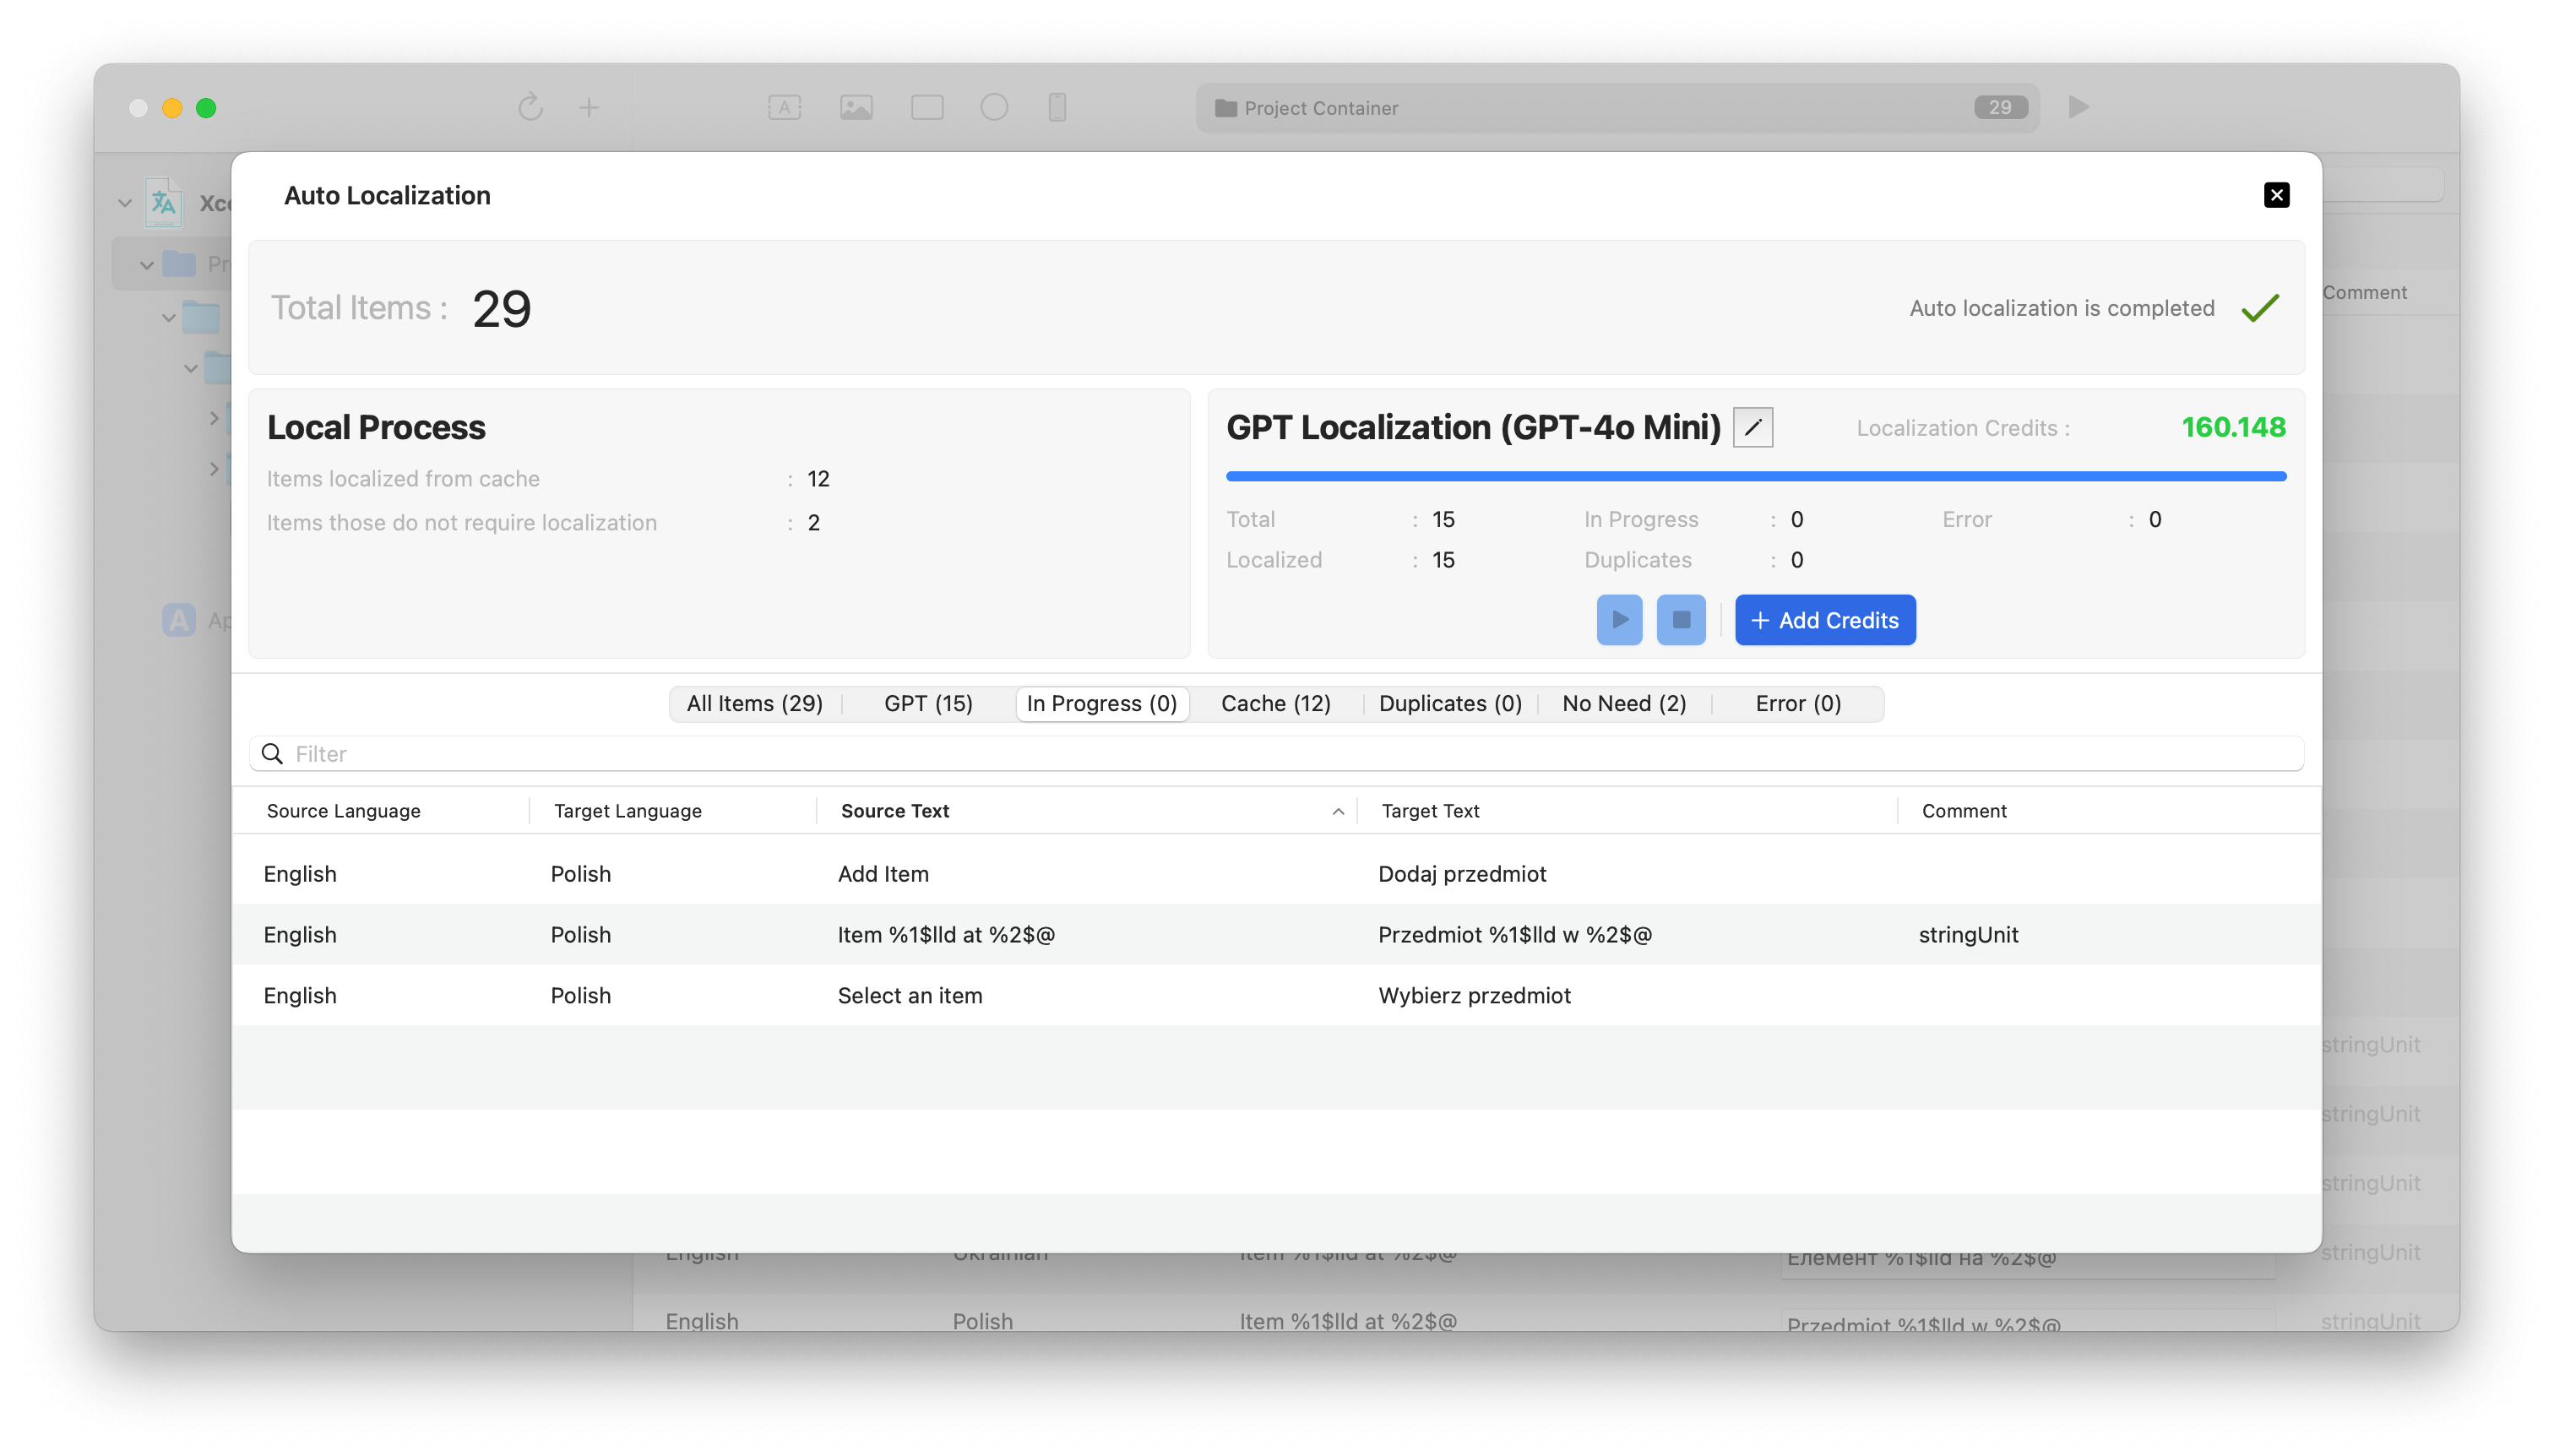
Open the automatic localization screen by clicking on the "Localize" button on the toolbar. All you have to do on this screen is to start the translation process by pressing the "Start" button. The application will localize all items in the XCLOC files using Open AI's most advanced GPT models.

... ... ... ... ...

6 - Import Localizations

After the auto localization process is finished, you can import localized XCLOC files back into the project using Xcode. In the Project navigator, select the project, then choose Product > Import Localizations. Import the localized XCLOC files by choosing one by one.

... ...

If you prefer, you have the option to import the XCLOC files in bulk rather than one by one by generating an XCLOC import shell script. To do this, right-click on the project container and select the "Generate XCLOC Import Script" option from the menu. After selecting this option, you will be prompted to choose the Xcode project file to which the XCLOC files will be imported. Then, select the folder where the shell script will be created. Shell script will be created under choosen folder.

... ... ... ...

Before running the shell script, please remember to grant the necessary permissions by using the following command in the terminal application.

6 - Congratulations

After importing all XCLOC files, your project is successfully localized. You can view all translations for target languages within the project.

...